Oh, friends, let me tell you about my Chili Recipe. It’s more than just a meal in our house; it’s a warm hug on a chilly evening, a taste of home no matter where we are, and the undisputed champion of potlucks. I can almost smell it now – the earthy aroma of cumin, the sweet tang of tomatoes, and that little kick of chili powder that just warms you from the inside out. Thinking about it takes me back to when I first started experimenting with this dish.
I wasn’t always a chili connoisseur. My first attempt? Let’s just say it was a watery, bland disaster. The kids politely choked it down, bless their hearts, but my husband? He just gave me that look. You know the one. That’s when I knew I had to up my game. I started tweaking, adding, and subtracting ingredients until, finally, after countless iterations, I landed on a recipe that had everyone asking for seconds. This Chili Recipe has truly stood the test of time.
What makes this Chili Recipe special is that it’s endlessly adaptable. You can throw in whatever veggies you have on hand, swap out the beans, or adjust the spice level to your liking. It’s the kind of meal that practically cooks itself, simmering away on the stove while I tackle homework, fold laundry, or just sneak in a few minutes of peace and quiet. I first perfected this recipe while the kids were little and time was something I never had enough of.
My cooking philosophy is simple: food should be delicious, nourishing, and shared with love. I believe that the best meals are the ones that bring people together, spark conversation, and create lasting memories. I hope you’ll give this Chili Recipe a try. It’s a great Homemade Chili Recipe and it’s easier than you think! I promise, it’s a labor of love that’s well worth the effort. So, grab your apron, and let’s get cooking! I think you will find this to be the Best Chili Recipe out there!
What You’ll Need for This Chili Recipe
Okay, let’s talk ingredients for the Chili Recipe. Here’s what I always have on hand:
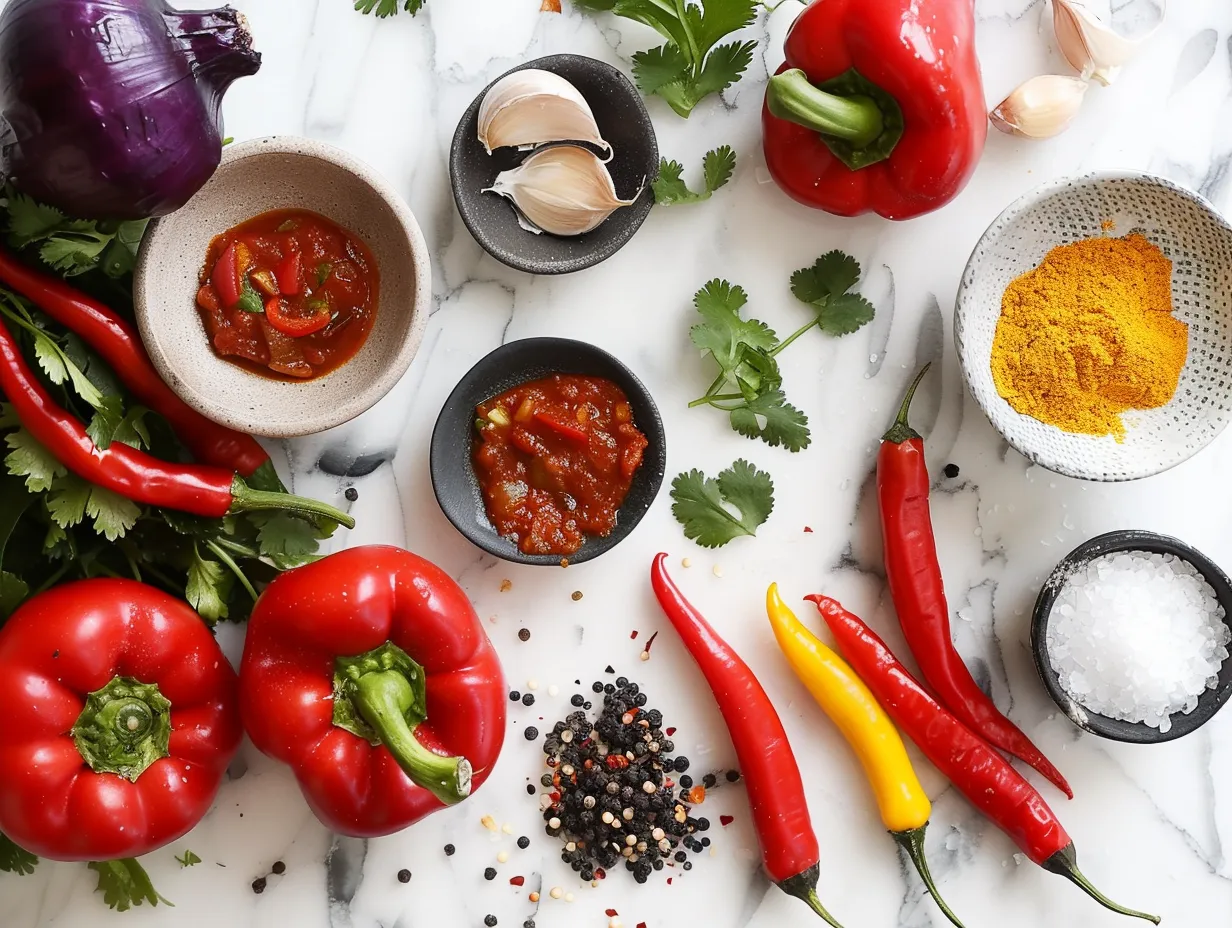
- 1 pound ground beef (or ground turkey/chicken for a lighter version)
- 1 large onion, chopped
- 2 cloves garlic, minced
- 1 green bell pepper, chopped
- 1 (28 ounce) can crushed tomatoes
- 1 (15 ounce) can tomato sauce
- 1 (15 ounce) can kidney beans, drained and rinsed
- 1 (15 ounce) can black beans, drained and rinsed
- 1 (15 ounce) can pinto beans, drained and rinsed
- 1 cup beef broth (or vegetable broth)
- 2 tablespoons chili powder
- 1 tablespoon cumin
- 1 teaspoon smoked paprika
- 1/2 teaspoon cayenne pepper (optional, for extra heat)
- Salt and pepper to taste
- Olive oil
I always use lean ground beef for my Chili Recipe because it’s what my family prefers, but feel free to use whatever ground meat you like. You can usually find good quality canned beans at any grocery store. I learned the hard way that it’s always best to rinse the beans before adding them; it cuts down on the sodium and makes them easier to digest. Rinsing also helps to remove some of the starches that can cause digestive discomfort, making your chili not only tastier but also easier on the stomach.
Here’s a Chili Recipe trick I learned from my grandma: add a tablespoon of unsweetened cocoa powder to the chili. Trust me on this one! It deepens the flavor and adds a richness that you won’t believe. It’s the kind of secret ingredient that elevates the dish from ordinary to extraordinary. For busy weeknights, I sometimes use pre-chopped onions and peppers to save time. It’s a lifesaver! Pre-chopped veggies can be a game changer, especially when you’re juggling multiple tasks. They save you valuable minutes in the kitchen, allowing you to focus on other aspects of the meal.
To save money, buy dried beans in bulk and cook them yourself. It takes a little extra time, but it’s much cheaper than buying canned. Plus, cooking dried beans from scratch allows you to control the sodium content and achieve a creamier texture. Leftover chili powder and cumin should be stored in airtight containers in a cool, dark place to maintain their flavor. Proper storage is key to preserving the potency of your spices, ensuring that your chili is bursting with flavor every time. You can find more tips for great flavor in this 30-Minute Easy and Quick Vegan Chili – Forks Over Knives.
Let’s Make This Chili Recipe Together
Alright, let’s get down to business and make this Easy Chili Recipe!
- Brown the meat: In a large pot or Dutch oven, heat a tablespoon of olive oil over medium-high heat. Add the ground beef (or your choice of ground meat) and cook, breaking it up with a spoon, until browned. Drain off any excess grease. I learned the hard way with Chili Recipe that if you don’t drain the grease, your chili will be swimming in it!
- Sauté the veggies: Add the chopped onion and green bell pepper to the pot and cook until softened, about 5 minutes. Then, add the minced garlic and cook for another minute until fragrant. Don’t worry if your Chili Recipe starts to stick to the bottom of the pot; just scrape it up with a spoon as you go. Those browned bits add tons of flavor!
- Add the tomatoes and beans: Stir in the crushed tomatoes, tomato sauce, kidney beans, black beans, and pinto beans. I like to use a variety of beans for different textures and flavors, but you can use whatever beans you have on hand. The mix of kidney, black, and pinto beans not only adds visual appeal but also provides a diverse range of nutrients and textures that elevate the overall chili experience. You can even make this a Vegetarian Chili Recipe by leaving out the meat altogether and adding an extra can of beans or some chopped vegetables like zucchini or carrots.
- Season it up: Add the chili powder, cumin, smoked paprika, cayenne pepper (if using), salt, and pepper. Stir well to combine. Now, here’s where you can really start to customize the flavor of your Chili Recipe. I like a smoky flavor so I add a bit of smoked paprika. Smoked paprika not only imparts a distinctive smoky taste but also adds depth and complexity to the chili’s flavor profile.
- Simmer, simmer, simmer: Pour in the beef broth (or vegetable broth) and bring the Chili Recipe to a simmer. Reduce the heat to low, cover, and let it simmer for at least 30 minutes, or up to 2 hours, stirring occasionally. The longer it simmers, the more the flavors will meld together. A slow simmer allows the ingredients to harmonize, creating a symphony of flavors that tantalize the taste buds. In my kitchen, Chili Recipe usually takes about 45 minutes to simmer to get the right consistency.
- Taste and adjust: After simmering, taste the chili and adjust the seasoning as needed. You might need to add more salt, pepper, chili powder, or cayenne pepper to get it just right. I always add a little bit of hot sauce at this point for an extra kick. A dash of hot sauce at the end can awaken the senses and add a layer of excitement to your chili.
- Serve and enjoy: Serve hot, topped with your favorite toppings such as shredded cheese, sour cream, chopped green onions, or a dollop of guacamole. Yum!
While the Chili Recipe is cooking, I usually tidy up the kitchen or catch up on a book. This downtime allows me to relax and recharge while the aroma of chili fills the air, creating a cozy and inviting atmosphere. Your Chili Recipe should smell like a warm, comforting hug – earthy, spicy, and a little bit sweet. If you love this Easy Chili Recipe, you’ll also enjoy my one-pan balsamic chicken!
How I Love to Serve This Chili Recipe
My family loves this Chili Recipe when I serve it with a big hunk of crusty bread for dipping. There’s just something about that soft bread soaking up all the flavors of the chili that makes my mouth water! It is really the Best Chili Recipe!
My go-to side dishes are cornbread and a simple green salad. The sweetness of the cornbread complements the spiciness of the chili perfectly, and the salad adds a bit of freshness to the meal. The combination of textures and flavors creates a well-rounded and satisfying dining experience. This Chili Recipe is perfect for game day, potlucks, or a cozy night in. I like to set up a chili bar with all sorts of toppings so everyone can customize their own bowl.
For presentation, I like to ladle the chili into bowls and garnish with a sprinkle of shredded cheese, a dollop of sour cream, and a few chopped green onions. A thoughtfully arranged bowl of chili not only looks appetizing but also enhances the overall dining experience. If you have extra Chili Recipe, it’s even better the next day! The flavors have had time to meld together even more, and it’s perfect for a quick and easy lunch.
I like to get creative with the leftovers. Sometimes, I’ll use it as a filling for tacos or burritos, or I’ll top a baked potato with it. The possibilities are endless, and each variation offers a unique and exciting twist on the original chili. In the fall, I like to add a can of pumpkin puree to the chili for a seasonal twist. Friends always ask for this Chili Recipe recipe, and I’m always happy to share it. I often make this Chili Recipe and this spicy-brazilian-coconut-chicken on the weekends to have lunches for the week. This culinary duo provides a delightful balance of flavors and textures, ensuring that my weekday lunches are anything but boring.
Your Chili Recipe Questions Answered
Okay, let’s tackle some common questions about my Chili Recipe! I hope this helps you make the Best Chili Recipe!
Q: Can I make this chili in a slow cooker?
A: Absolutely! Brown the meat and sauté the veggies as instructed, then transfer everything to a slow cooker. Cook on low for 6-8 hours or on high for 3-4 hours. You know what I do when my Chili Recipe is in the slow cooker? I go about my day and let the chili do its thing!
Q: Can I freeze this chili?
A: Yes! Chili freezes beautifully. Let it cool completely, then transfer it to freezer-safe containers or bags. It will keep in the freezer for up to 3 months. When you’re ready to eat it, thaw it overnight in the refrigerator and reheat on the stovetop or in the microwave.
Q: Can I use different types of beans?
A: Of course! Feel free to use whatever beans you like. Great northern beans, cannellini beans, or even chickpeas would all be delicious in this chili. The beans are really what make this a great Vegetarian Chili Recipe.
Q: How do I make this chili spicier?
A: If you want to add more heat, increase the amount of cayenne pepper or add a pinch of red pepper flakes. You can also use a spicier chili powder or add a chopped jalapeño pepper to the pot. My husband likes it really spicy, so I always add a little extra cayenne pepper to his bowl.
Q: How do I thicken my chili?
A: If your chili is too thin, you can thicken it by simmering it uncovered for a longer period of time. You can also mash some of the beans with a fork and stir them back into the chili, or mix a tablespoon of cornstarch with a tablespoon of cold water and stir it into the chili.
Q: Can I add other vegetables to this chili?
A: Absolutely! This chili is a great way to use up leftover vegetables. Zucchini, carrots, corn, and spinach would all be delicious additions. I often throw in whatever veggies I have on hand. Adding a medley of colorful vegetables not only enhances the nutritional value of the chili but also creates a visually appealing dish that is sure to impress.
Q: My chili is too acidic. What can I do?
A: If your chili tastes too acidic, add a teaspoon of sugar or a pinch of baking soda to the pot. This will help to balance out the flavors. I’ve made this mistake before and learned that a little sugar goes a long way! For more Vegetarian Chili Recipe help, check out this Best Vegetarian Chili Recipe – How To Make Vegetarian Chili.
My Final Thoughts on This Chili Recipe
This Chili Recipe isn’t just a recipe to me; it’s a collection of memories, a symbol of family, and a reminder that the simplest things in life are often the most satisfying. It’s the perfect dish to share with loved ones, whether it’s a casual weeknight dinner or a festive gathering. I hope this helps you make the Best Chili Recipe ever!
My Chili Recipe Pro Tips
- Don’t be afraid to experiment with different ingredients and flavors.
- Simmering the chili for a longer period of time will deepen the flavor.
- Taste and adjust the seasoning as you go.
Over the years, I’ve tried countless variations of this Chili Recipe. Sometimes I add a can of diced tomatoes with green chilies for extra heat. Other times, I’ll throw in some chopped sweet potatoes for a touch of sweetness. My daughter loves it with a dollop of guacamole, while my son prefers a sprinkle of shredded cheese.
No matter how you make it, I hope this Chili Recipe brings you as much joy and comfort as it has brought my family. I think it makes the perfect Homemade Chili Recipe. Don’t forget to share this cinnamon sugar tortilla chips recipe!
So, go ahead, give it a try! I hope you enjoy making and sharing this Chili Recipe as much as I do. Happy cooking!
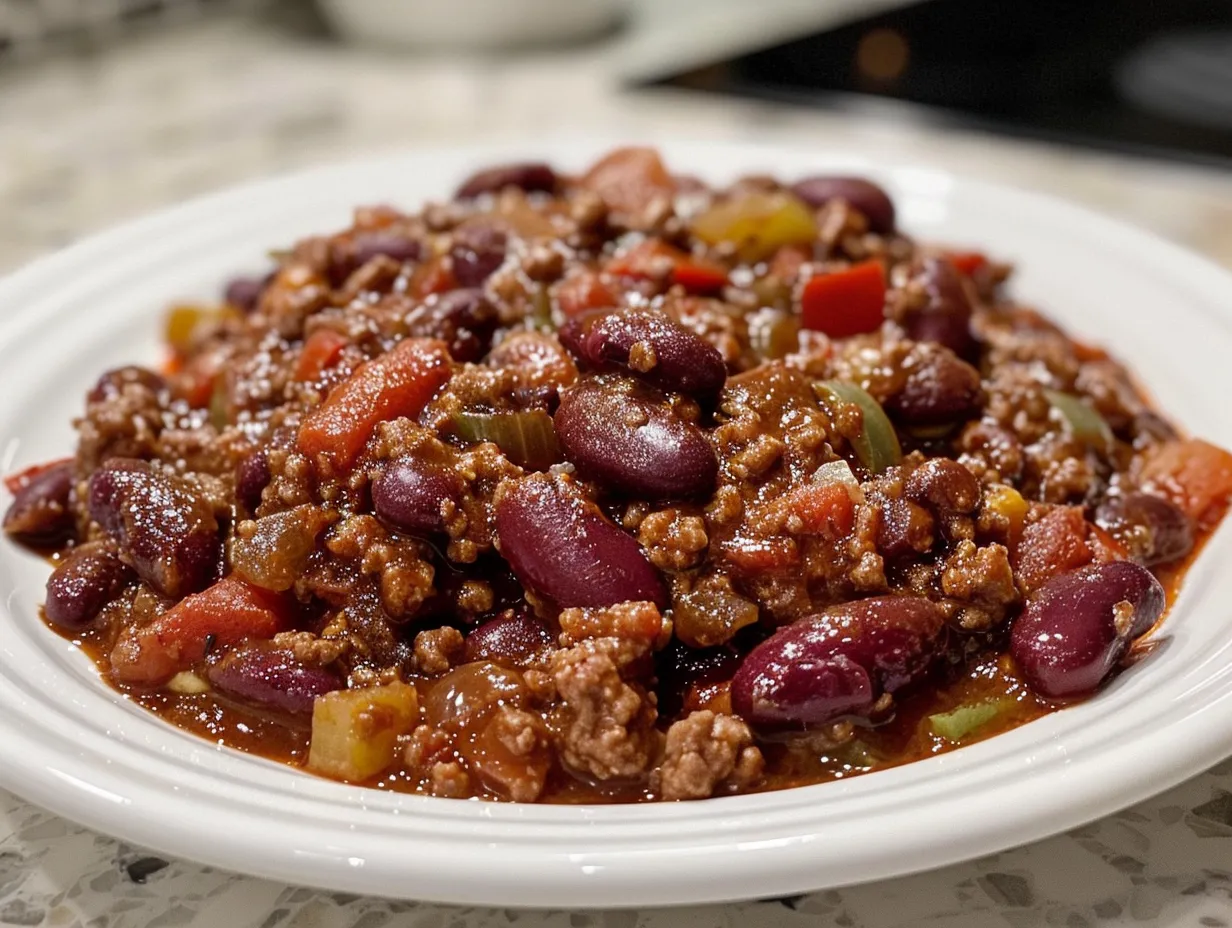
Chili Recipe

This hearty chili recipe is perfect for a cold night. It’s packed with flavor and is easy to customize with your favorite toppings.
- Prep Time: 15 minutes
- Cook Time: 45 minutes
- Total Time: 60 minutes
- Yield: 6 servings
- Category: Dinner
- Method: Skillet
- Cuisine: American
Ingredients
- 1 pound ground beef
- 1 large onion, chopped
- 2 cloves garlic, minced
- 1 green bell pepper, chopped
- 1 (28 ounce) can crushed tomatoes
- 1 (15 ounce) can kidney beans, drained and rinsed
- 1 (15 ounce) can black beans, drained and rinsed
- 1 (15 ounce) can corn, drained
- 1 (1 ounce) package chili seasoning
- 1 teaspoon cumin
- 1/2 teaspoon oregano
- Salt and pepper to taste
Instructions
- In a large pot or Dutch oven, brown the ground beef over medium-high heat. Drain off any excess grease.
- Add the onion, garlic, and green bell pepper to the pot and cook until softened, about 5 minutes.
- Stir in the crushed tomatoes, kidney beans, black beans, corn, chili seasoning, cumin, oregano, salt, and pepper.
- Bring to a simmer, then reduce heat and cook for at least 30 minutes, or up to 1 hour, stirring occasionally.
- Serve hot with your favorite toppings.
Notes
Top with shredded cheese, sour cream, chopped onions, or avocado for an extra layer of flavor.